Installation of LED spotights
| We
have here extended our loft and transformed it to living area. To give
it a modern feeling LED spotlights were used. They not only convince
with the energy saving technology and long lifespan but also impress
with their modern and decorative design. The following guide is
intended to serve as a guideline. It does not matter whether you want
to use round or square recessed spotlights. The installation is similar
for all, the mounting holes may differ.
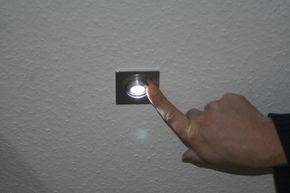
Start
|
Next step
|
Install transformers for 12V spotlights
If you install 230V recessed spotlights (for example GU10 spotlights ) you do not require a transformer. |
Connecting the spotlights
If you have a plug in light (i.e. MR16 light) with a socket (i.e. MR16 socket) installed, insert the bulb in the socket and then install the desired mounting frame nto the ceiling. |
Secure spotlight into the ceiling
We used for our project square LED recessed spotlights with 3W CREE HighPower LED's and aluminum frame. In our shop we offer various square or round recessed spotlights as well as complete MR11 and MR16 spotlight sets. This installation description can be used as a general guide line. |
Result
|
| back to the help center |
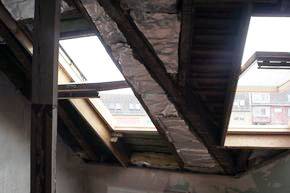
 Depending on what degree your project is, you might have to start with the dry construction. Please be aware, that you should insulate the appropriate outside walls/roof areas between the rafters. For lowering the ceiling you require special ceiling hangers which allow the subsequent leveling to be adjusted. For this use a water level gauge, a spirit level or a laser level. Usually you do not need insulation.
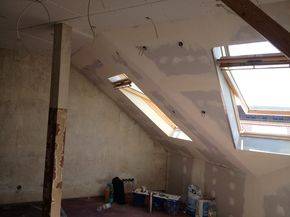
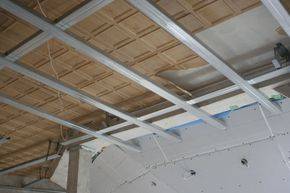
 During the installation of the plasterboard we have laid the cables for the lighting at the same time. You need to ensure that you know, where the recessed spotlights will be placed. For the mounting space measurements please refer to the technical details, to ensure you cut the right size. For this you may use a holesaw. Through this hole the cables will be drawn. If there is already a backup for the fuse dissipation available, than the power supply must be ensured. Please use for the DC power connection of low-voltage spotlights with 12V a 3x 1.5mm² cable. The use of this cable will enable you to have the option to change to a higher voltage at a later stage (LED lights with 230V connection). For the moment you can fix the cables with adhesive tape to the mounting hole. In the left picture you can see clearly that the cables have been pulled in a loop through the opening (will be later separated).
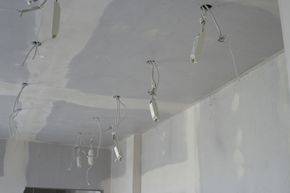
 After you have filled and primed the plasterboard, the
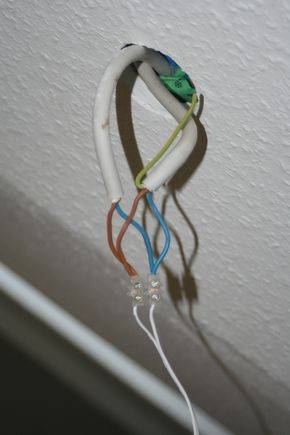
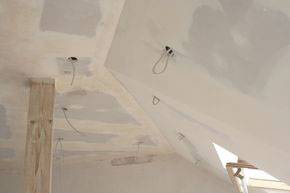
 Once the ceiling has been finished with i.e. plastering, painting or wall papering, you can then connect the spotlights. Most lights have a simple plug in connection. The cable is connected through a
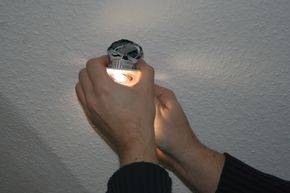
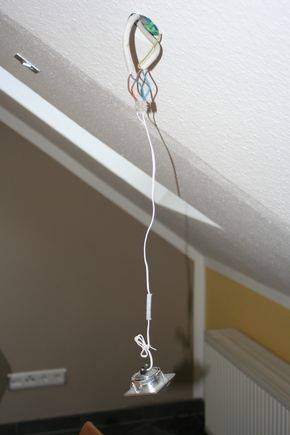
 Most mounting frame and recessed spotlights can be fixed into the ceiling using mounting brackets. To install push the brackets together with the help of springs and insert them into the open gap. When using square frames, pay particular attention to the correct alignment of the spotlights. Only after complete assembly, the power can be switched on again.
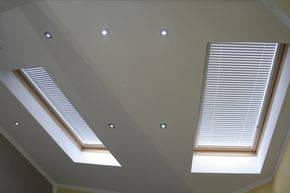
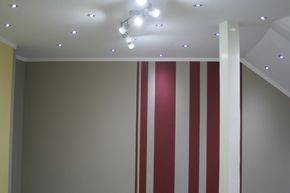 Create a modern and beautiful atmosphere in your home or at work using a combination of recessed spotlights and other


Copyright © World Trading Net GmbH & Co. KG