Soldering wired LED's
|
The following soldering guide is a recommendation from world-trading-net. We will show you illustrated soldering steps for dipolar LED's on single-core wire and for 12V connection to direct current. You may buy all items such as LED’s, resistors, soldering tools and insulation as well as joining parts in LED online shop. For the following instructions we used items from our shop: - LED red 11.000mcd Ø 5mm We wish you lots of fun and enjoy these great products with high quality and long live from our specialized online shop. For further questions, queries, feedback and information please do not hesitate to contact us on info@highlight-led.com. |
|
1. Check delivery
|
2. Establish the poles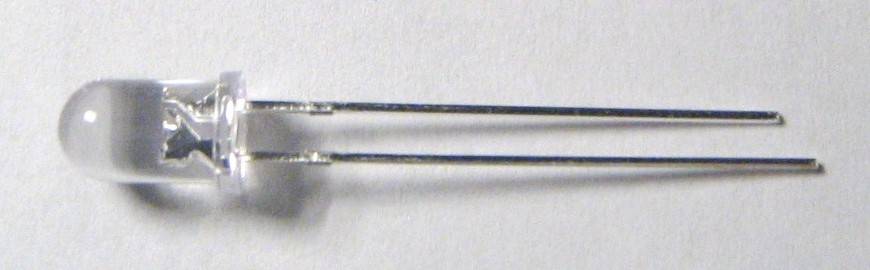 - the longer leg is the positive pole - the longer leg is the positive pole- the shorter leg is the negative pole An LED can be soldered up to the small restriction just before the lens. The soldering iron should contact the pole no longer than five seconds.
|
3. Shortening the positive pole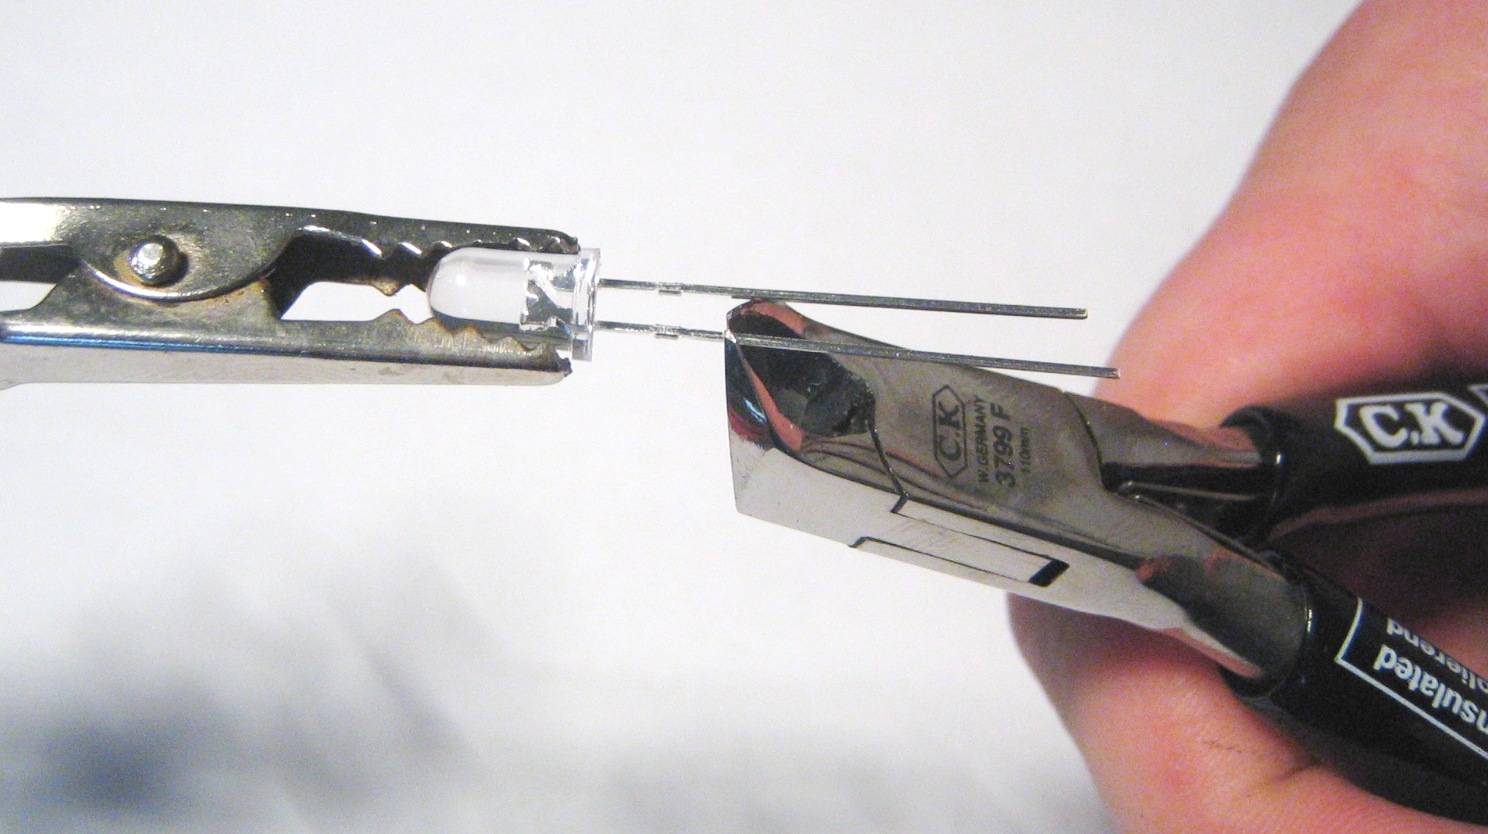 Cut
the positive pole (long legs) to a length of about 4mm (see picture).
The resistor will sit close to the LED and will save space. Cut
the positive pole (long legs) to a length of about 4mm (see picture).
The resistor will sit close to the LED and will save space.
|
4. Preparing of the resistor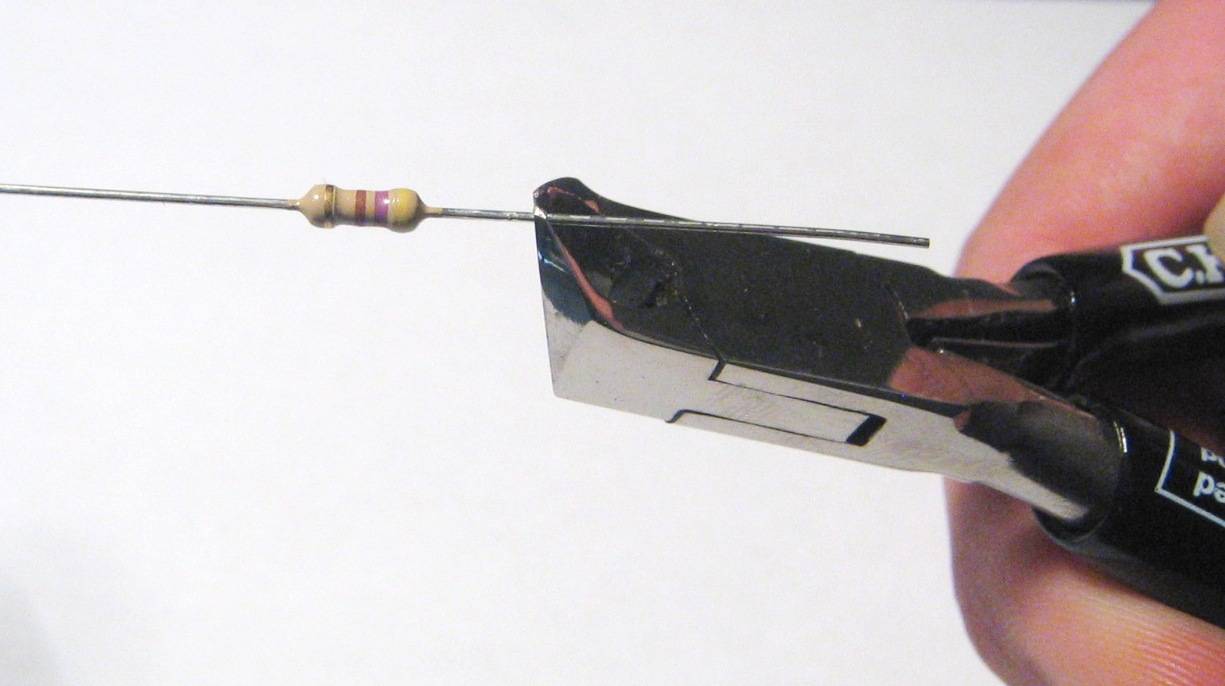 In
order to achieve the smallest possible space when soldering joints, cut
the wire of the resistor to about 4mm before the resistor body. In
order to achieve the smallest possible space when soldering joints, cut
the wire of the resistor to about 4mm before the resistor body.
|
5. Soldering of the resistor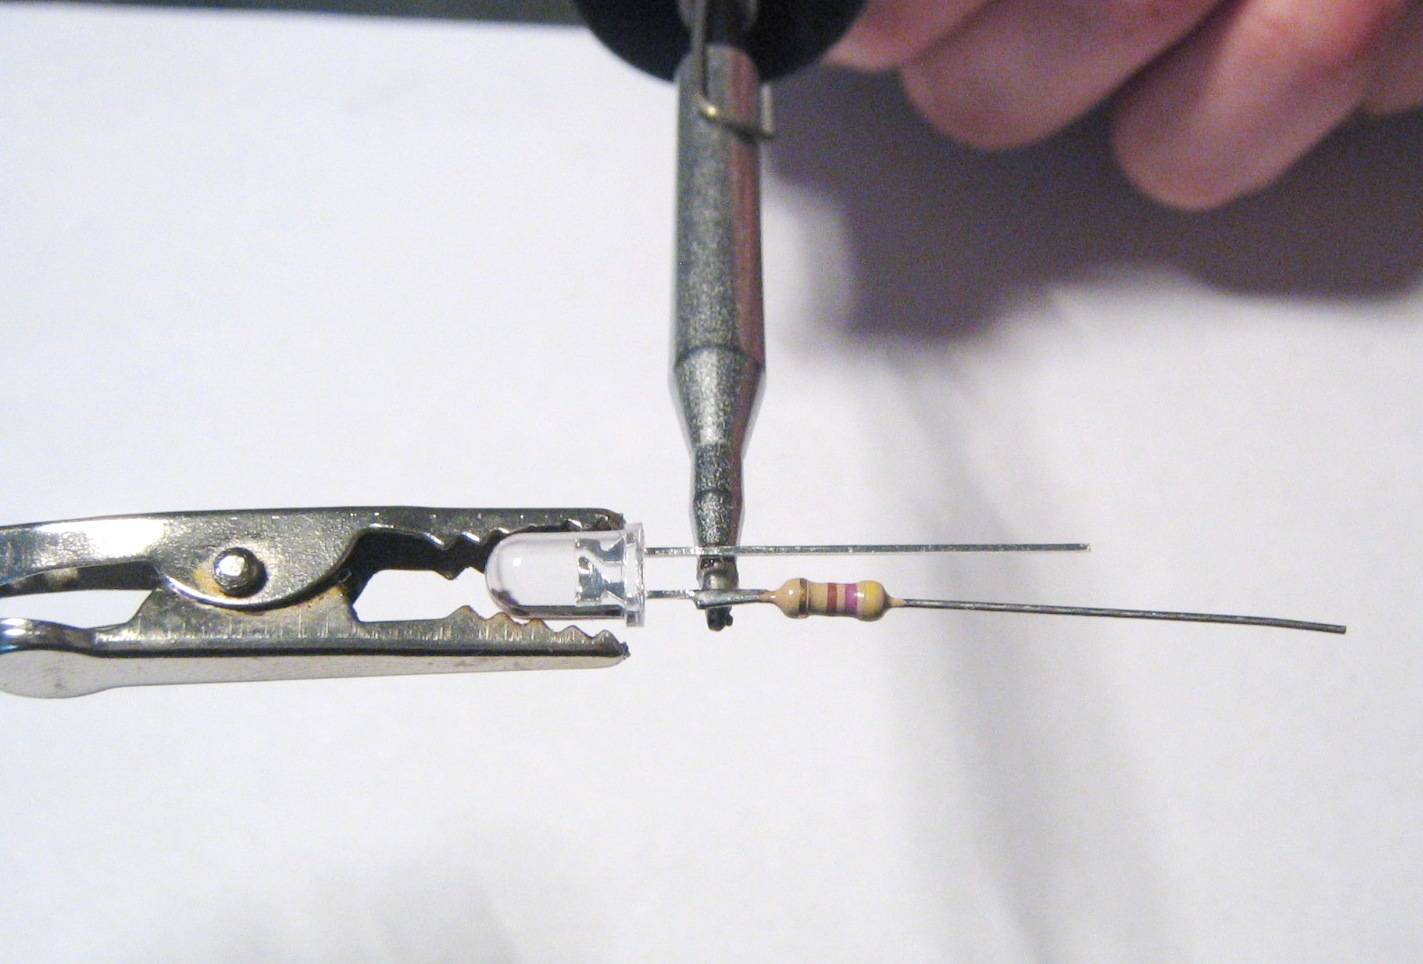 Wet
the tip of your preheated soldering iron with solder tin. Hold down the
resistor exactly in the desired position on the LED. Then, hold the tip
to the connection for about two seconds. Let it cool down and check the
connection. Wet
the tip of your preheated soldering iron with solder tin. Hold down the
resistor exactly in the desired position on the LED. Then, hold the tip
to the connection for about two seconds. Let it cool down and check the
connection.
|
6. Cut the wires Cut the two wires to a length of about 4mm to ensure min space is used for soldering cables. Cut the two wires to a length of about 4mm to ensure min space is used for soldering cables.
|
7. Tin the cable flex Check that the cable is completely soaked with solder tin (as per picture). Check that the cable is completely soaked with solder tin (as per picture).
|
8. Check cables Check that the cable is completely soaked with solder tin (as per picture). Check that the cable is completely soaked with solder tin (as per picture).
|
9. Soldering the cable to the resistor (positive pole) Hold
the cable in the desired position to the resistor. Run the pre-heated
soldering iron with tin along the joints for no longer than two
seconds. Remove the soldering iron, let cool down the connection and
check the tightness. Hold
the cable in the desired position to the resistor. Run the pre-heated
soldering iron with tin along the joints for no longer than two
seconds. Remove the soldering iron, let cool down the connection and
check the tightness.
|
10. Soldering the cable to the negative pole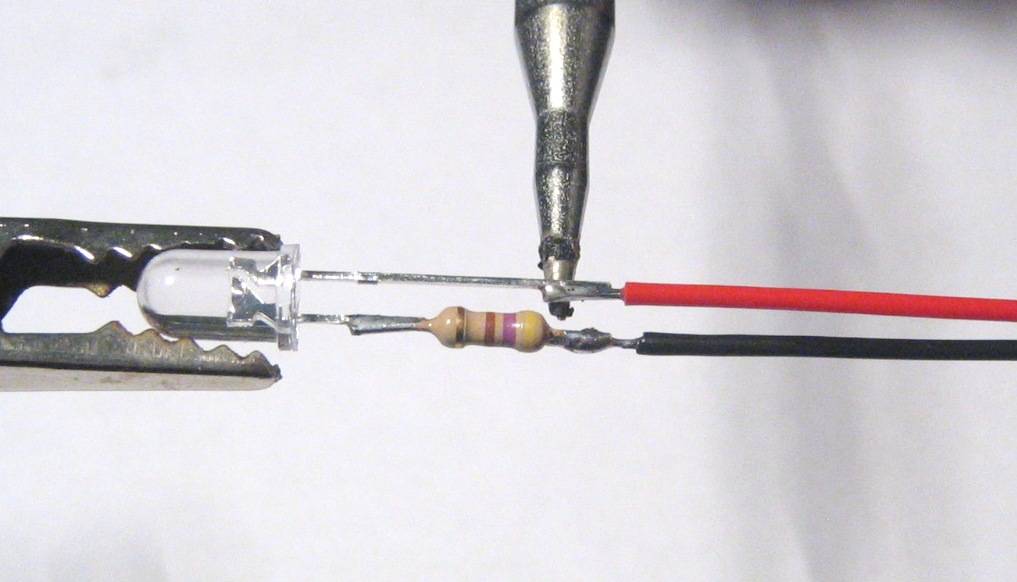 Hold
the tinned wire to the desired position on the negative terminal of the
LED. Run the pre-heated soldering iron with tin along the joints for no
longer than two seconds. Remove the soldering iron, let cool down the
connection and check the tightness. Hold
the tinned wire to the desired position on the negative terminal of the
LED. Run the pre-heated soldering iron with tin along the joints for no
longer than two seconds. Remove the soldering iron, let cool down the
connection and check the tightness.
|
11. Insulation of soldered joints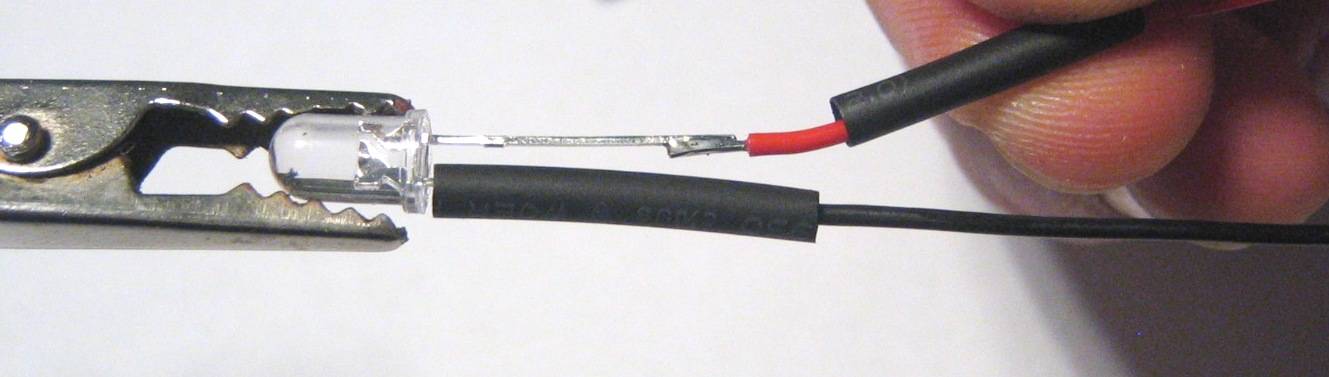 Cut
a piece of heat shrink to about 10mm long with a pair of scissors and
slide it over the cable just above the solder joint, up to the LED
lens. Heat the tubing with a lighter until it shrinks, the resistor and
the wire are then tightly wrapped. Cut
a piece of heat shrink to about 10mm long with a pair of scissors and
slide it over the cable just above the solder joint, up to the LED
lens. Heat the tubing with a lighter until it shrinks, the resistor and
the wire are then tightly wrapped.
|
12. Insulation of negative pole Cut
a piece of heat shrink to about 10mm long with a pair of scissors and
slide it over the cable just above the solder joint, up to the LED
lens. Heat the tubing with a lighter until it shrinks, the resistor and
the wire are then tightly wrapped. Cut
a piece of heat shrink to about 10mm long with a pair of scissors and
slide it over the cable just above the solder joint, up to the LED
lens. Heat the tubing with a lighter until it shrinks, the resistor and
the wire are then tightly wrapped.
|
13. Check the finished soldered LED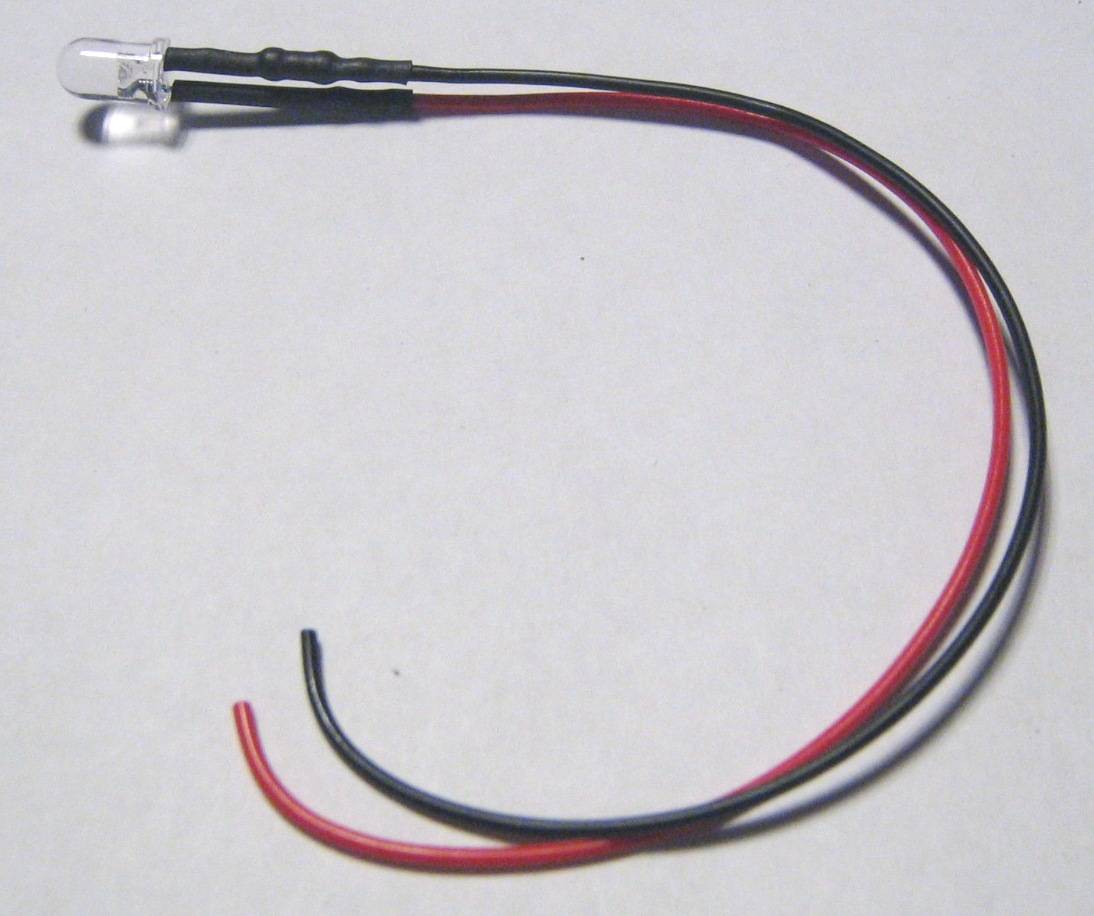 Connect
the finished LED using the soldered cable ends to the appropriate power
source (in conjunction with the resistor). If the LED lights up, you
have mastered your work with flying colors. Connect
the finished LED using the soldered cable ends to the appropriate power
source (in conjunction with the resistor). If the LED lights up, you
have mastered your work with flying colors.
|
| back to help center |


Copyright © World Trading Net GmbH & Co. KG